How Can We Help?
General Claim Parameters
The General Claim Parameter screen includes all the settings related to General Claims. Select the settings offered on the screen to enable/disable the various features pertaining to General Claims offered by Assure Claims.
With the deprecation of the legacy Utilities zone and based on the concept of logical grouping, General Claim’s parameter settings can be accessed from this screen via the Configuration Manager zone.
As all administrative settings and controls previously available in the Utilities zone are now available in the Configuration Manager zone, DXC recommends using the latter for all administrative purposes.
Select the General Claims Parameters tab
The General Claims Parameters window includes six different sections/tabs. The various setting tabs are listed in the dropdown. In order to know more about any particular tab, select the same from the dropdown list to get redirected to the corresponding section.
1.0 Reserve
1.1 Auto-Adjust
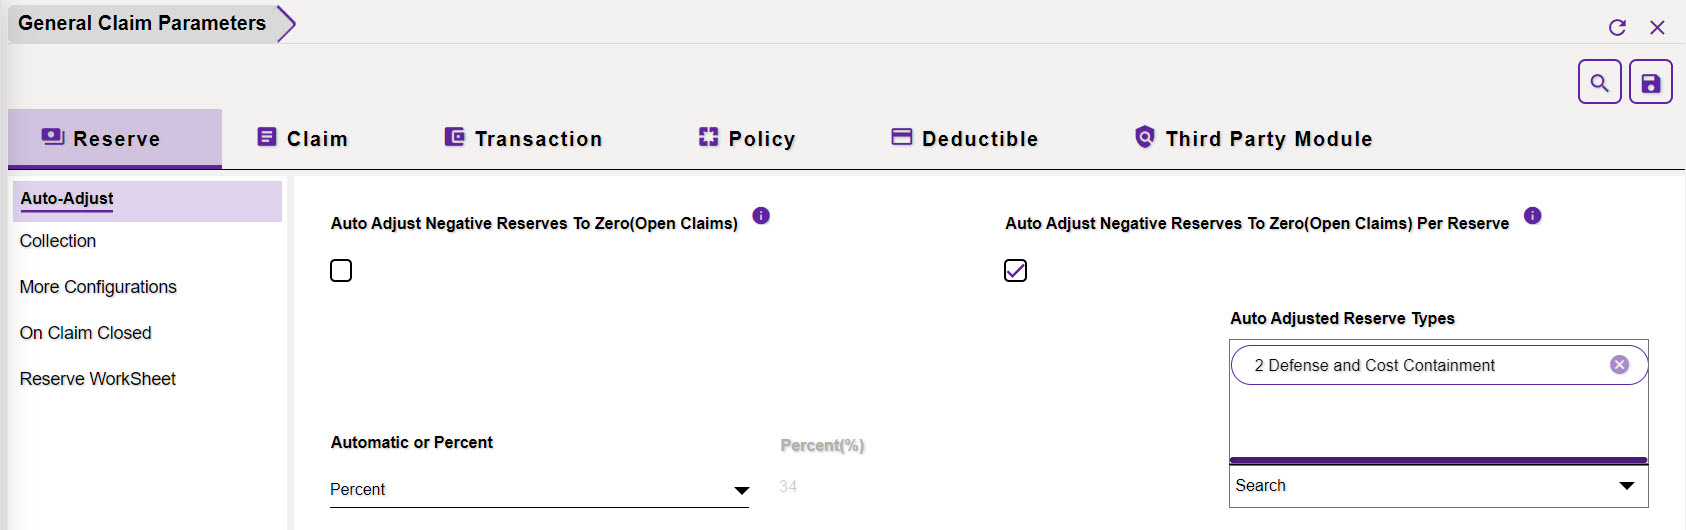
Auto Adjust Negative To Zero (Open Claims): Enable this setting, so that, when a payment that is greater than the Reserve Balance is entered, the system automatically raises the Reserve amount and maintains a zero balance as well as processes the payment. This setting will be applicable to Open Claims only.
Once this setting is enabled, the Auto Adjusted Reserve Types field will become read-only while the Automatic or Percent and Percent (%) field will remain editable.
Auto Adjust Negative To Zero (Open Claims) Per Reserve: If this checkbox is selected, then, each negative Reserve will be automatically adjusted to zero. That is, the payment, which is greater than that of the allowed individual Reserve balance, will be auto-adjusted to zero.
Once this setting is enabled, all the other 3 fields, namely Auto Adjusted Reserve Types, Automatic or Percent, and Percent (%) will become editable.
Automatic or Percent: The dropdown menu of this field includes two options, Automatic or Percent. Select an option as per the requirement. The Auto-adjust feature will be considered based on the selection here.
Percent (%): Enter the percentage amount that is to be considered for auto-adjustment.
Auto Adjusted Reserve Types: Select the Reserve Types for which the auto-adjust feature is to be enabled.
1.2 Collection
The Reserve screen displays financial details as shown in the screenshot below. The details displayed here are in sync with the financial details displayed on the Claim Reserve Summary screen.
- Total Balance
- Total Paid
- Total Collection
- Total Incurred
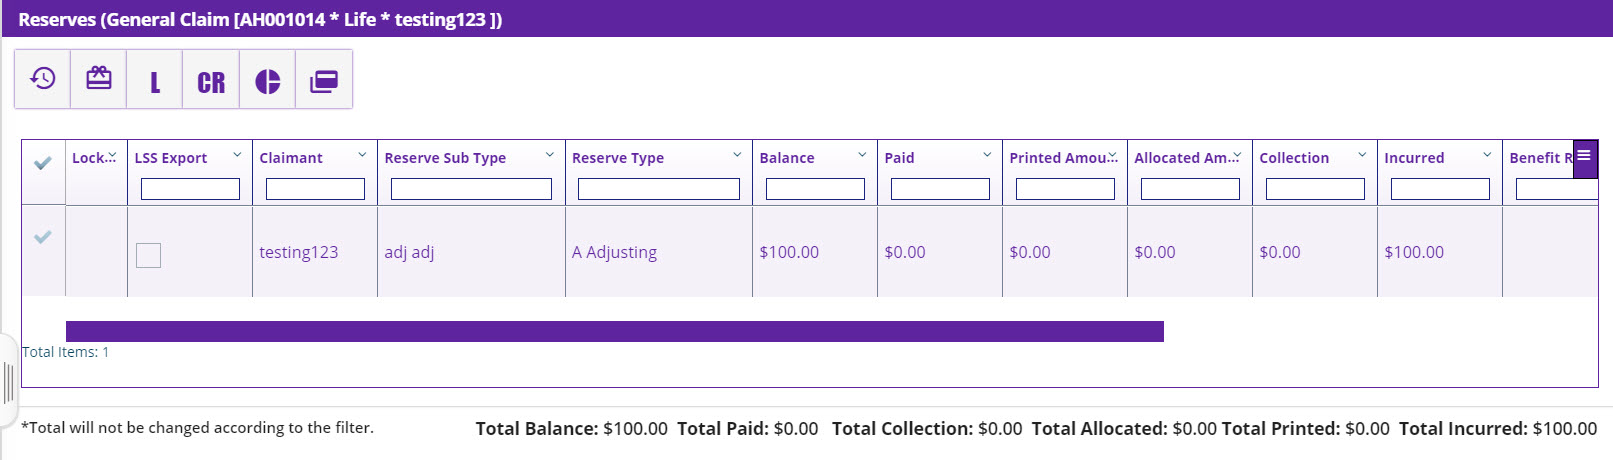
The screen features and displays a consolidated report of the expected values based on financial calculations like Payments, Collections, Voiding Payments, Creating Reserves, Closing Reserves and Changing Amounts etc.
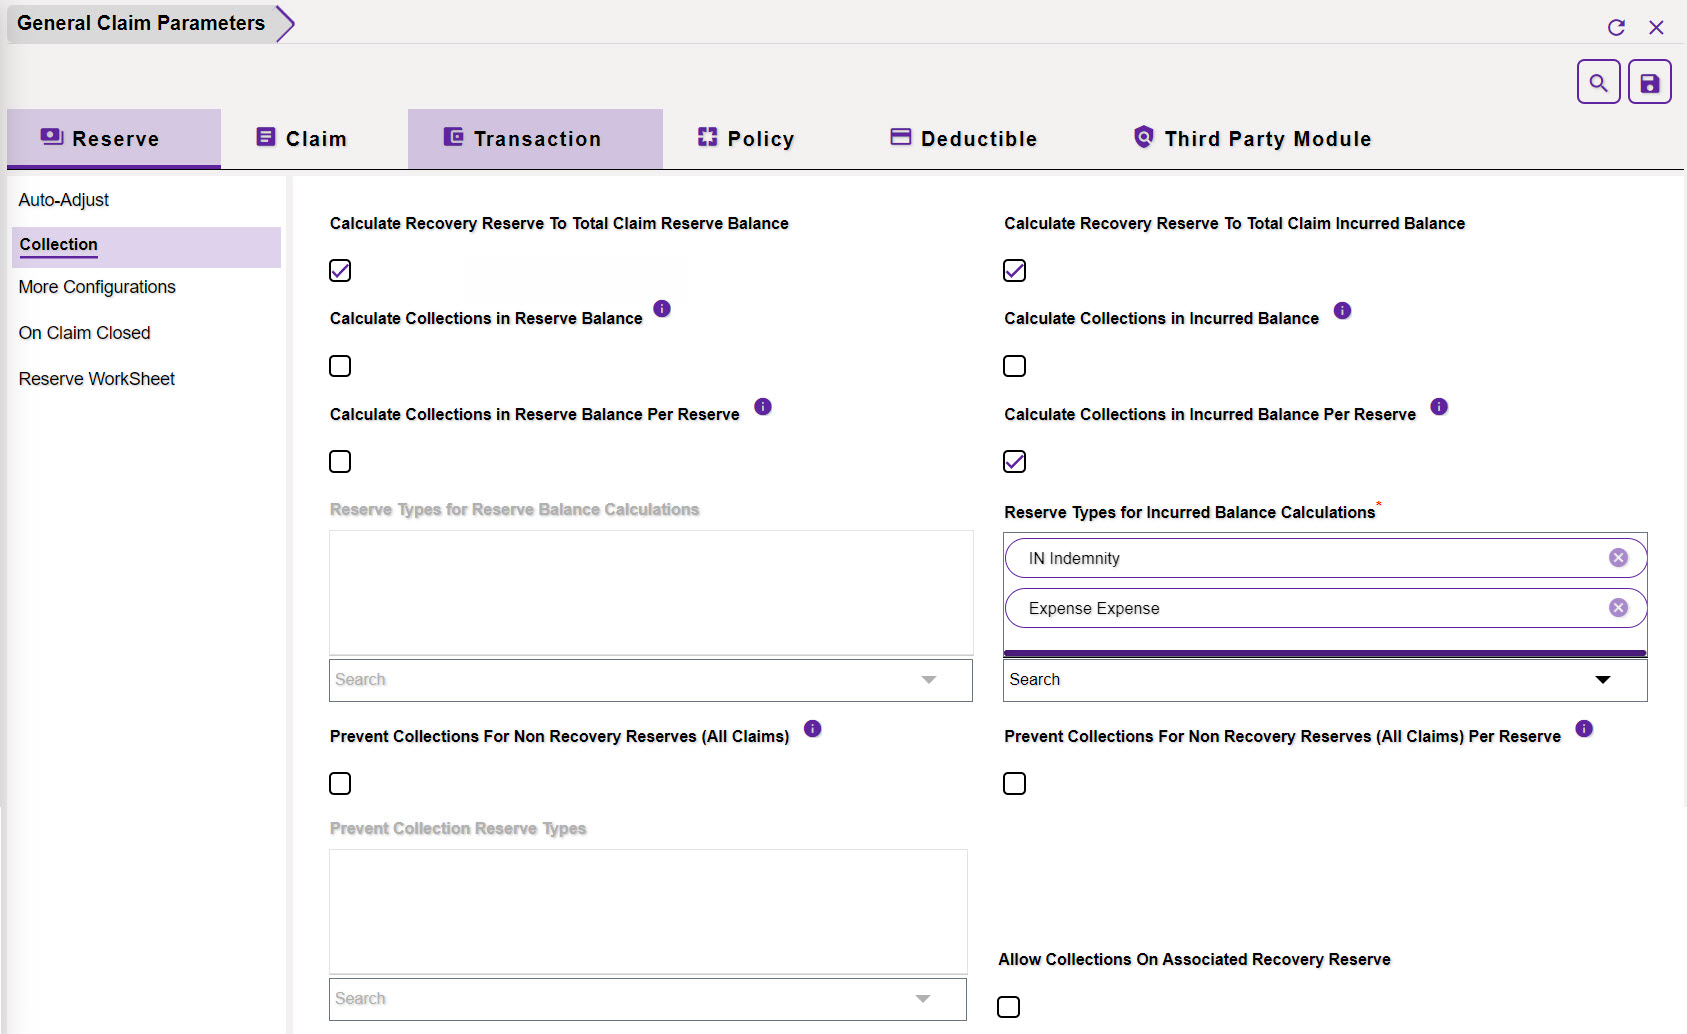
The Collection section of the General Claim Parameters screen offers the following settings. Enable the settings to display the respective data on the Reserve screen of the Claims zone.
- Calculate Recovery Reserve to Total Claim Reserve Balance
- Calculate Recovery Reserve to Total Claim Incurred Balance
- Calculate Collections in Reserve Balance
- Calculate Collections in Incurred Balance
- Calculate Collections in Reserve Balance Per Reserve
- Calculate Collections in Incurred Balance Per Reserve
Reserve Types for Reserve Balance Calculations: Select the Reserve Type for which the Reserve Balance is to be calculated.
Reserve Types for Incurred Balance Calculations: Select the Reserve Type for which the Incurred Balance is to be calculated.
The Total Balance summary will be displayed as per the settings done in the previous field.
Prevent Collections For Non Recovery Reserves (All Claims): The creation if Collections will not be allowed in case of Non-recovery Reserves for all the claims, in case, this setting is enabled.
Prevent Collections For Non Recovery Reserves (All Claims) Per Reserve: If this setting is enabled, then, collection will not be created against the individual non-recoverable Reserve of a Claim.
Prevent Collection Reserve Types: Select the checkbox to prevent Collection Reserve Type.
Allow Collections On Associated Recovery Reserve: If this checkbox is checked, then, the collection will be created against the associated Recoverable Reserve of a Claim.
1.3 More Configurations
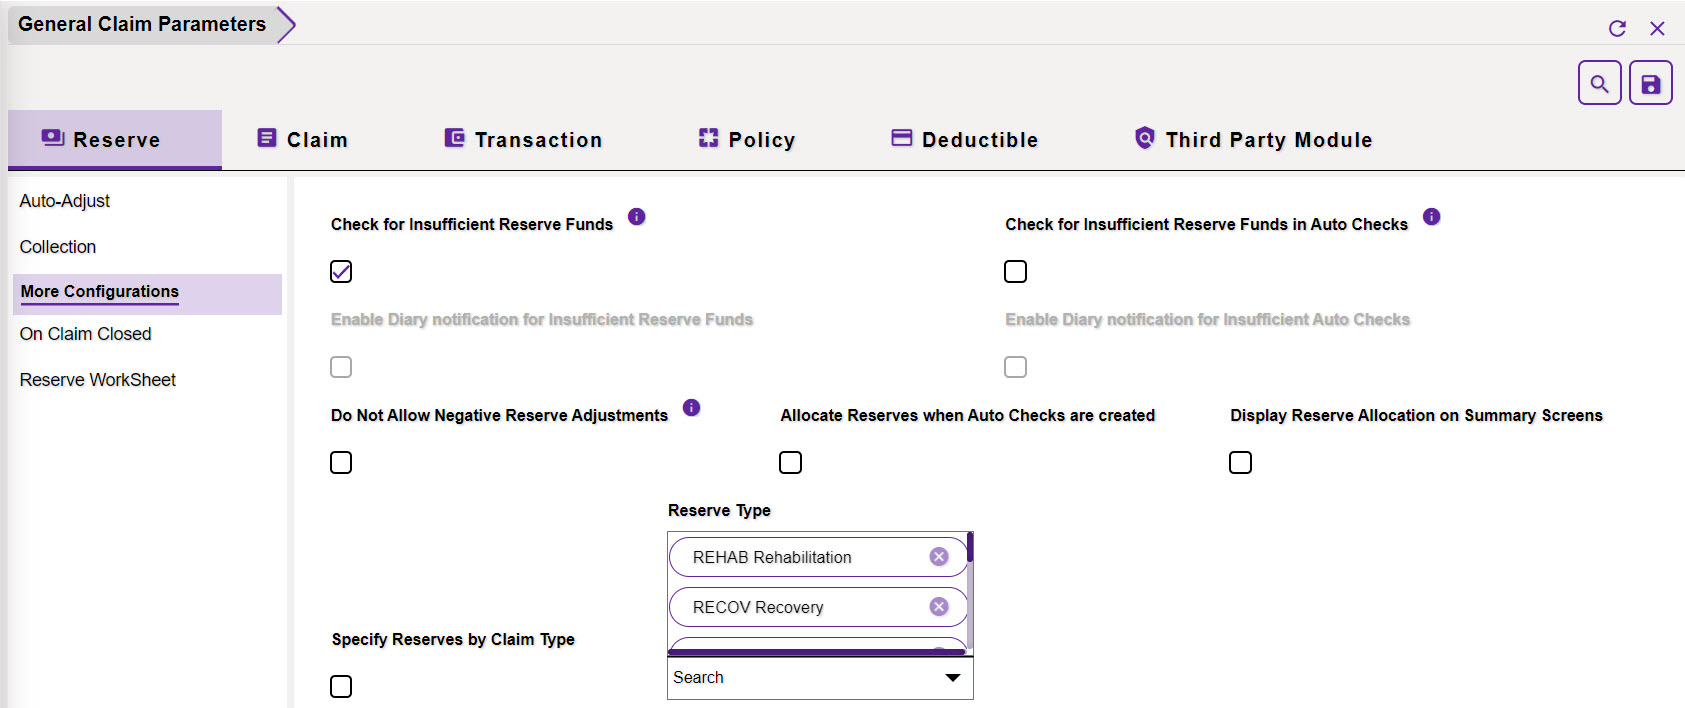
Check for Insufficient Reserve Funds: Select this checkbox to display the Insufficient Reserve Funds window on the Reserve Screen.
The Insufficient Reserve Funds window is to adjust reserves for a claim when you try to make a payment that exceeds the existing reserves. This window automatically opens when you try to save a transaction on the Funds Management window, and the payment amount is more than the current reserves.
Check for Insufficient Reserve Funds in Auto Checks: If this option is enabled, then, the Insufficient Reserve Window will appear automatically only if the system is set up to Check for Insufficient Reserve Funds in Utilities.
Enable Diary notification for Insufficient Reserve Funds: Select the checkbox to enable Diary notification when a transaction is saved on the Funds Management window, and the payment amount is more than the current reserves.
Enable Diary notification for Insufficient Auto Checks: The application enables the user to set up and print the checks for Claim payments. Select the checkbox to enable Diary notification when the payment amount is more than the scheduled checks.
Do Not Allow Negative Reserve Adjustments: If this checkbox is enabled, then, a Payment that is greater than the Reserve Balance will not be allowed.
Allocate Reserves when Auto Checks are created:
Display Reserve Allocation on Summary Screens: Select the checkbox to display Reserve Allocation on the Summary screen.
Specify Reserves by Claim Type: Select the checkbox to specify the Reserves by Claim Type.
Reserve Type: Select the Reserve Types in this field.
1.4 On Claim Closed
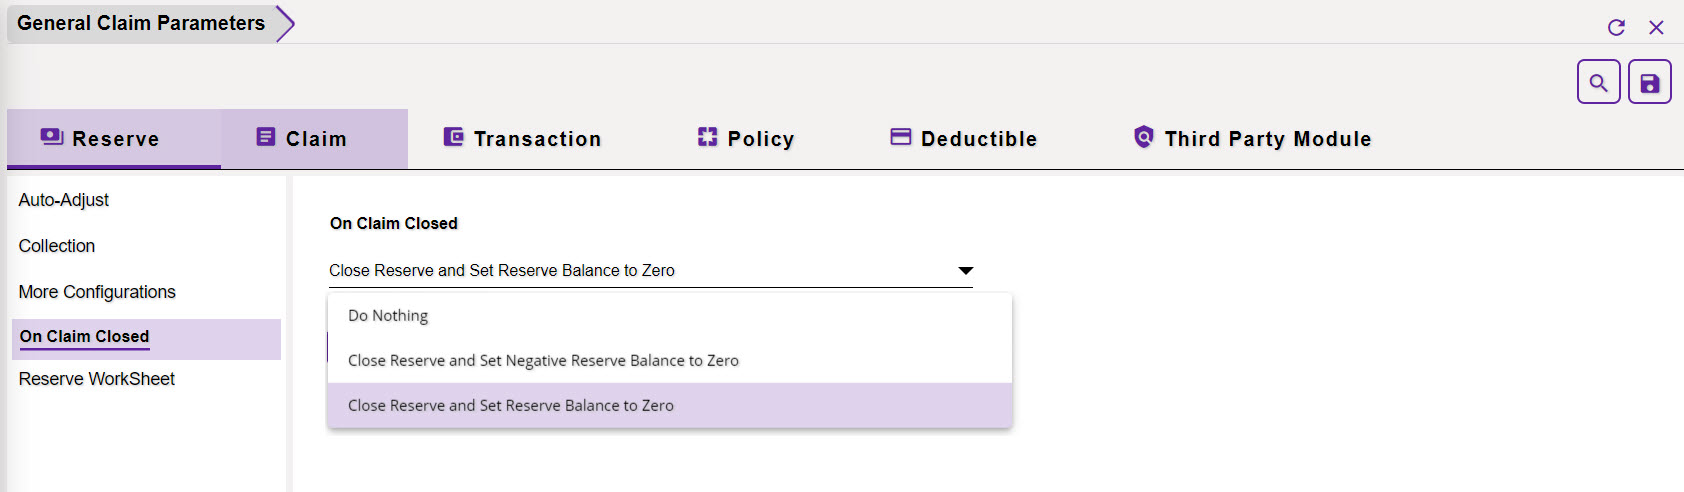
The section of the screen features a dropdown menu that has 3 options. The various options and their functionality are discussed below:
Do Nothing: Select this option if the above-mentioned actions are not required to be performed on the Closed Claims.
Close Reserve and Set Reserve Balance to Zero: If this option is selected, then, the Reserves on the Closed Claims will be closed and their Reserve Balance will be set to zero.
Close Reserve and Set Negative Reserve Balance to Zero: If this option is selected, then, the Reserves on the Closed Claims will be closed, but their Reserve Balance will be automatically set to zero.
1.5 Reserve Worksheet
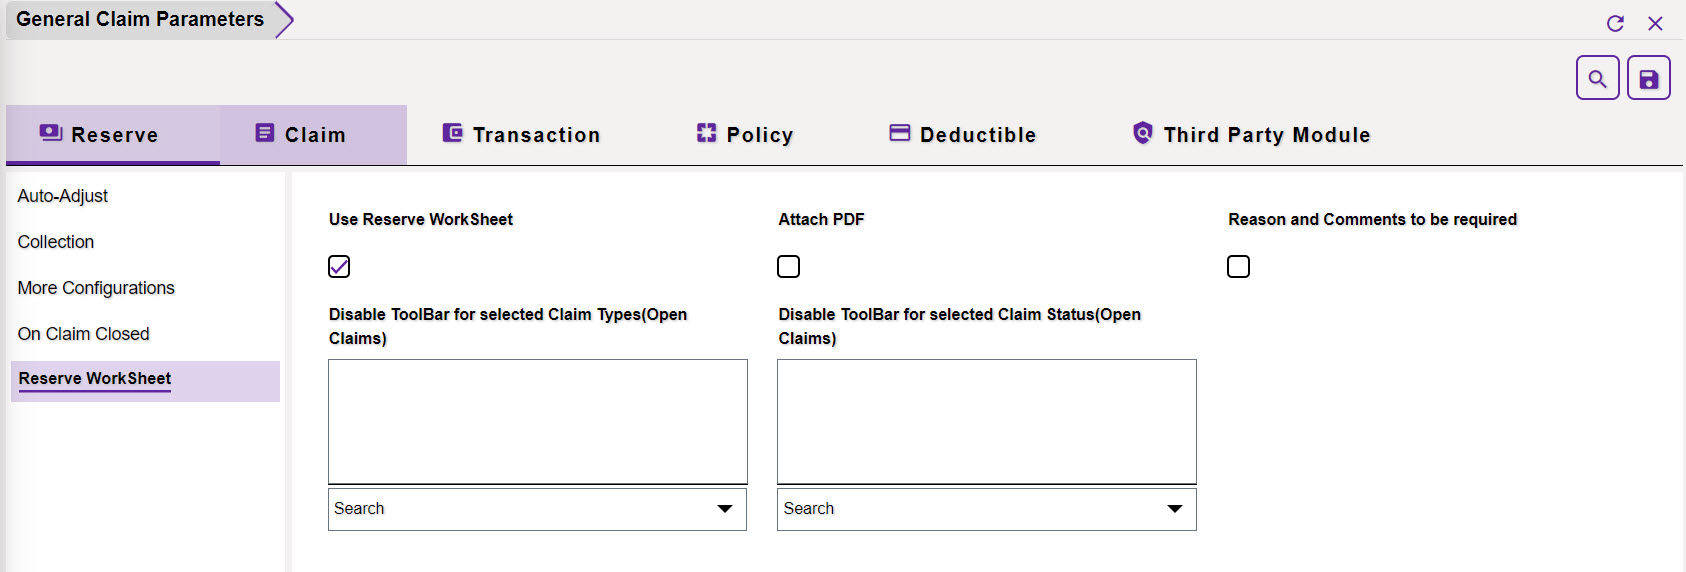
Use Reserve WorkSheet: Selecting this checkbox will enable the Reserve WorkSheet functionality in General Claims. Once enabled, the Reserve Worksheet will become accessible for all General Claims.
Attach PDF: Select the Attach PDF checkbox to attach the reserve worksheet in a PDF format to the General Claims.
Reason and Comments to be required: Select
Disable ToolBar for selected Claim Types (Open Claims): Opt for the Claim Types for which the Toolbar menus on the Reserve Worksheet are to be disabled. For this, select the dropdown icon to view the Claim Types lookup table. Once the selection is done, the toolbar menu on the Reserve Worksheet window of the selected Claim Types will be disabled. This setting is applicable to Open Claims only.
Disable ToolBar for selected Claim Status (Open Claims): Opt for the Claim Status for which the Toolbar menus on the Reserve Worksheet are to be disabled. For this, select the dropdown icon to view the Claim Status lookup table. Once the selection is done, the toolbar menu on the Reserve Worksheet window of the selected Claim Status will be disabled. This setting is applicable to Open Claims only.
2.0 Claims
2.1 Auto-Close
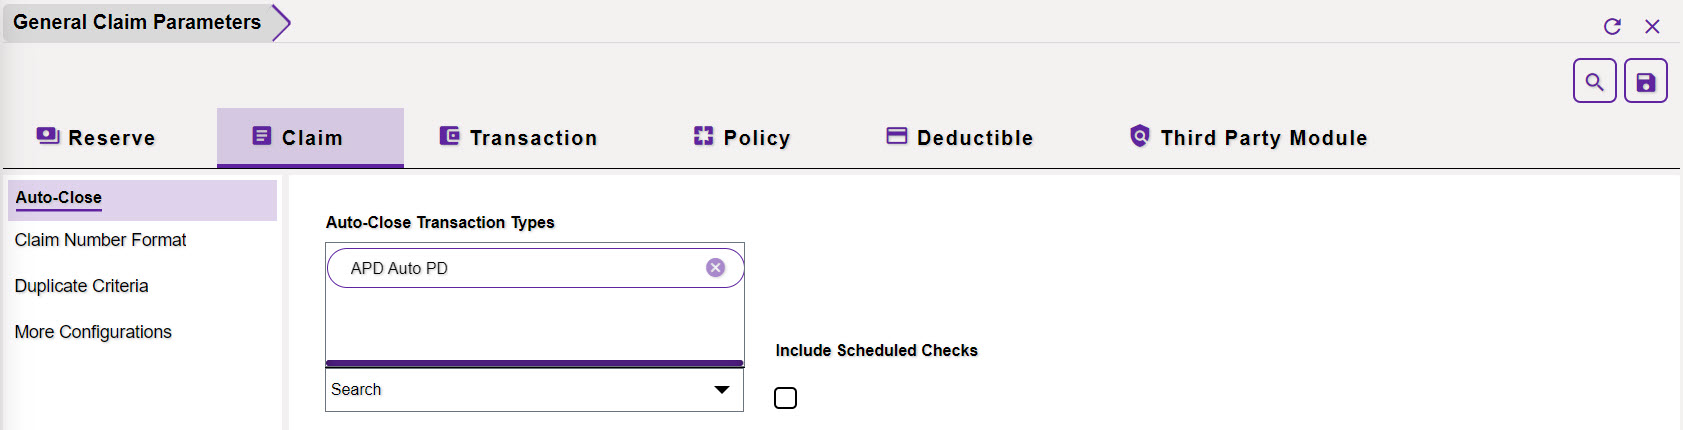
This section within the General Claim Parameters screen allows you to enable an automatic closure of claims when a payment of a specific type is processed. Select the ![]() button to choose the desired Transaction Types and save your selections. This will result in the automatic closure of claims associated with the selected Transaction Type.
button to choose the desired Transaction Types and save your selections. This will result in the automatic closure of claims associated with the selected Transaction Type.
Additionally, by checking the Include Scheduled Checks option, any scheduled checks related to the relevant claims will also be closed automatically.
2.2 Claim Number Format
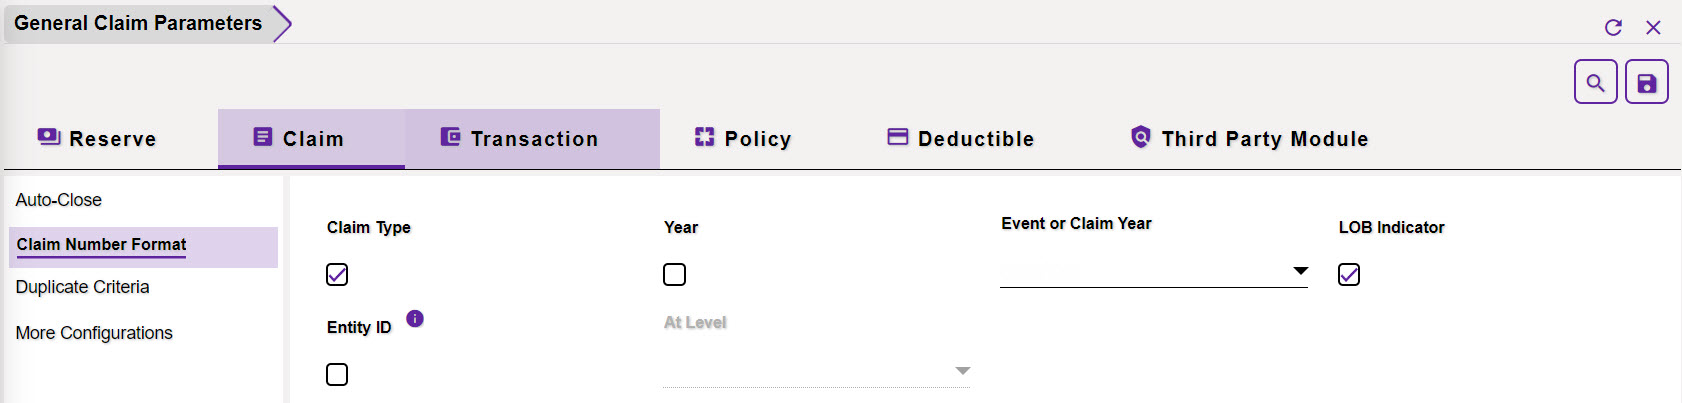
This section of the window displays a number of options that can be included in the Claim Number. Select the checkbox of the various options that are to be included in the Claim Number. The various available options are mentioned below:
- Claim Type
- Year
- Event or Claim Year (Depending on the selection done from the dropdown list, either the year of Claim or the corresponding Event will be considered.)
- LOB Indicator
- Entity ID
- At Level (Specifies the Level at which the Claim was created)
For instance, if LOB and Claim Type Indicator are selected, then, the Claim Number will include these two information & will appear as shown below.

2.3 Duplicate Criteria
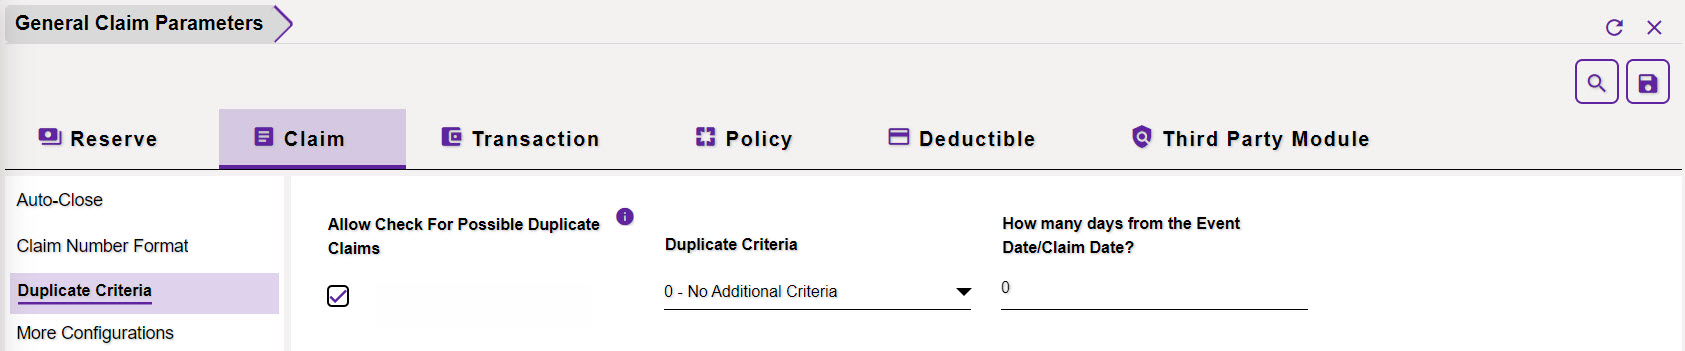
Allow Check For Possible Duplicate Claims: This setting, if enabled, allows the Checks for Duplicate Claims. Once the checkbox of the field is selected, then, the following Duplicate Criteria field will be enabled.
Duplicate Criteria: Select the Duplicate Criteria from the dropdown list in this field. If two claims are created with the same criteria, then, a popup showing the duplicate criteria will be displayed.
How many days from the Event Date/Claim Date?: Enter the number of days after which the above-mentioned setting is to be made applicable.
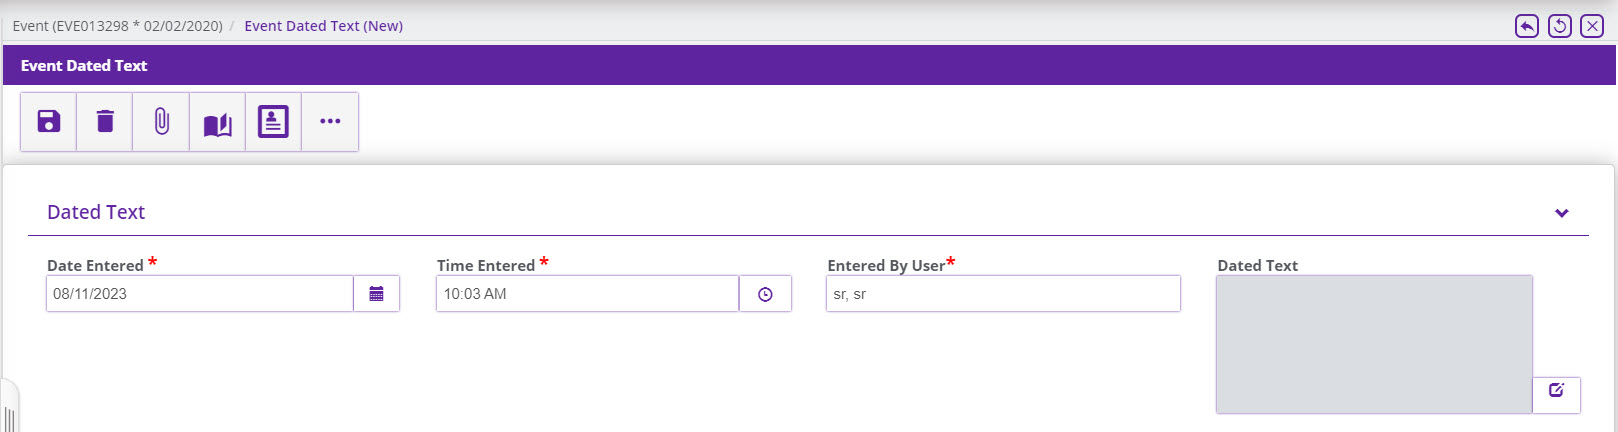
2.4 More Configurations
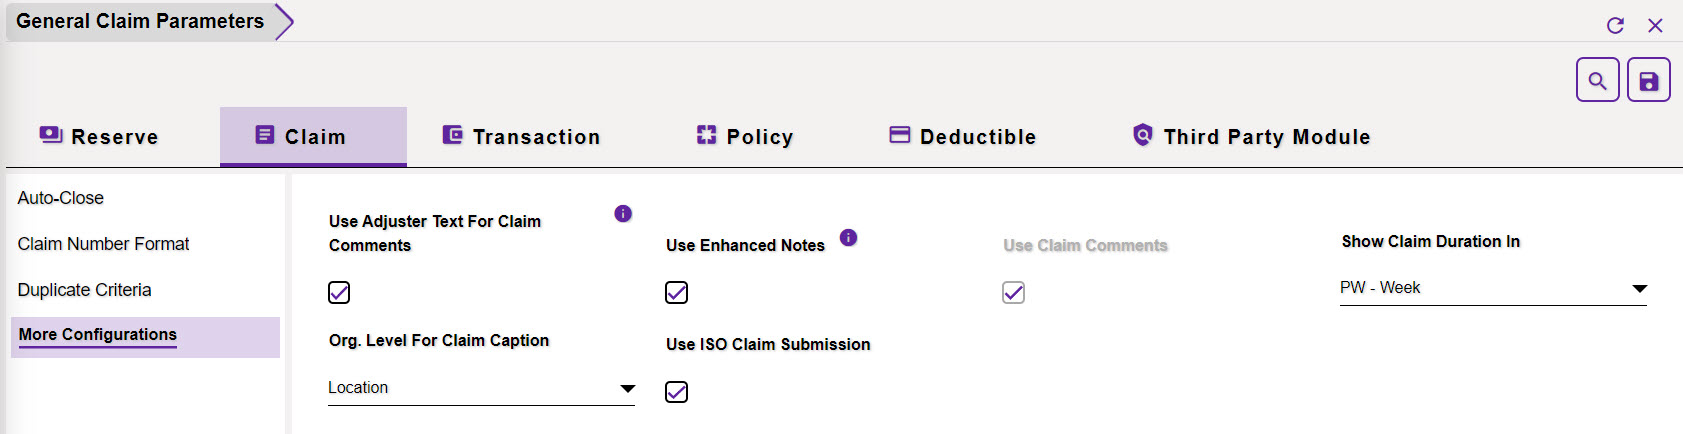
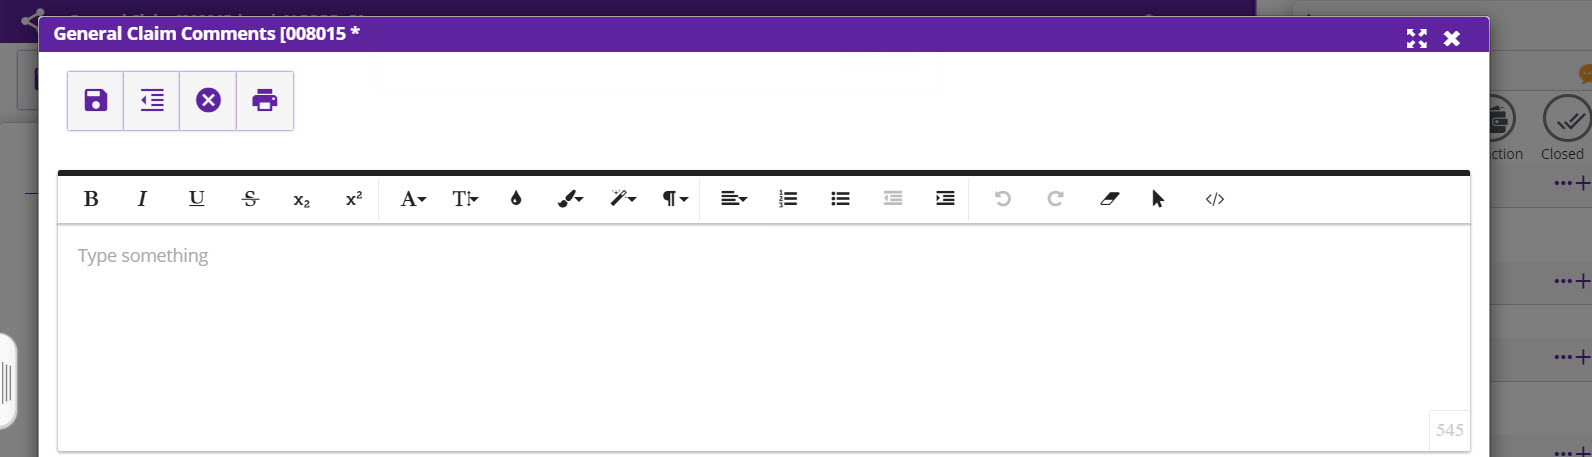
Use Adjuster Text For Claim Comments: If this setting is enabled, then, the Event Dated Text Screen will get displayed on the Claim Comment screen as shown below.
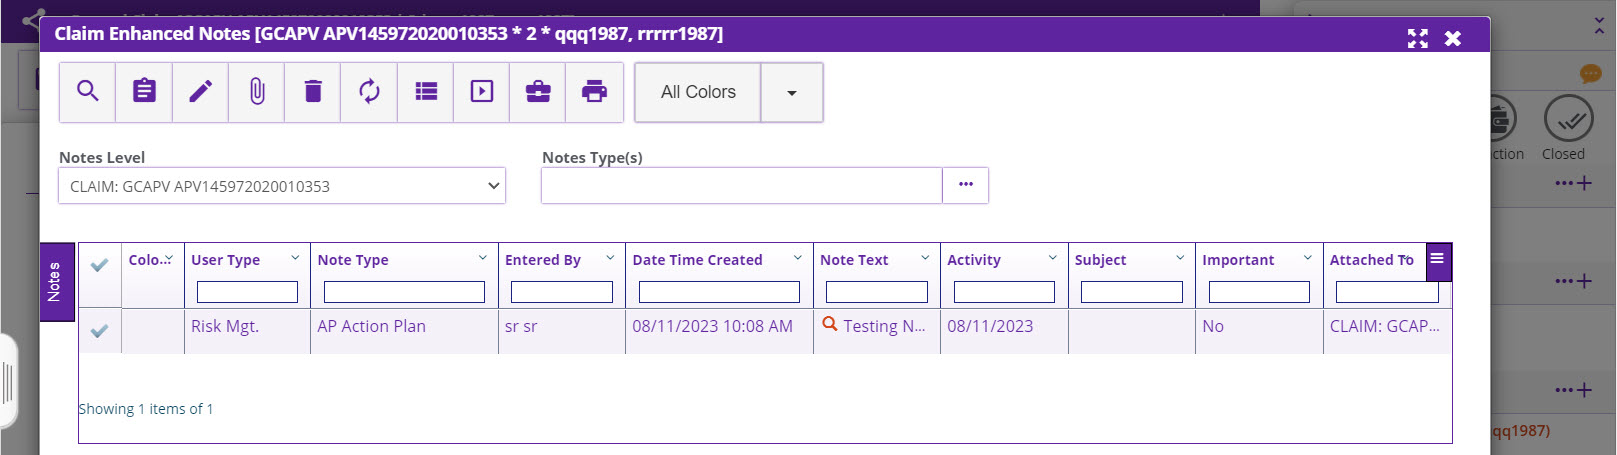
Use Enhanced Notes: Select the checkbox to enable the Enhanced Notes feature in the Claims zone as shown in the screenshot below. This functionality renders the ability to add Notes to Claims and Events. Enhanced Notes is a medium to govern data handling and managing the tasks related to Claims and Events.
Use Claim Comments: Enabling this option incorporated the ability to enter comments on a particular Claim. These comments are then displayed on the Claim Comment Summary window of the Claim.
Show Claim Duration In: The Claim Duration displays the time span over which the claim was raised. This duration can be displayed on a daily, weekly, monthly, etc. basis depending on the selection made in this field of the Configuration Manager zone. Select the relevant option from the dropdown menu and the time span will be displayed accordingly.
Org. Level For Claim Caption: The selected Organization Level in this field will be displayed as the Claim Caption.
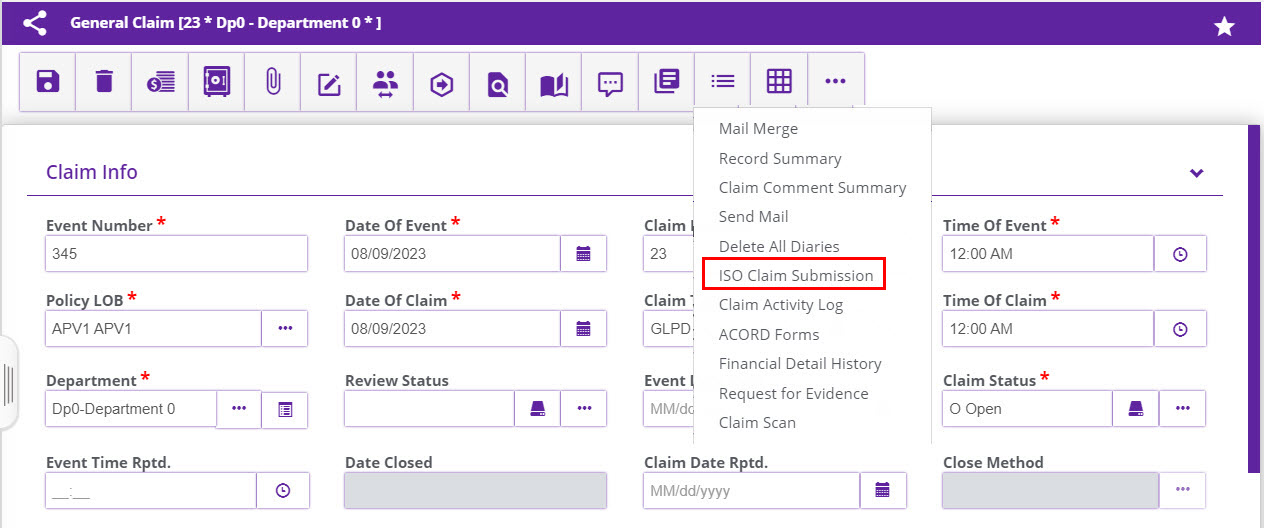
Use ISO Claim Submission: Select the Use ISO Claim Submission check box and the ISO Claim Submission button will be displayed on the claim window.
3.0 Transaction
3.1 Payment

Disable From and To Date Validation on Payment Detail: Select the checkbox to disable the validation on the From and To Date fields on the Payment Details screen. In case, the checkbox is not selected, then, these two fields will appear as mandatory fields.
4.0 Policy
4.1 Duplicate Criteria

Check For Duplicate Claims at Policy Download: Enable this setting to check if two policies with the same criteria are attached to the same claim. As soon as this setting is enabled, the following two fields will get enabled.
Duplicate Criteria: Choose the policy criteria for evaluating duplicity. When two policies with identical criteria are linked to a single claim, a message regarding duplication criteria will emerge based on the chosen selection in this field.
How many days from the Event Date/Claim Date?: Enter the number of days after which the data loss is to be considered in this field.
5.0 Deductible
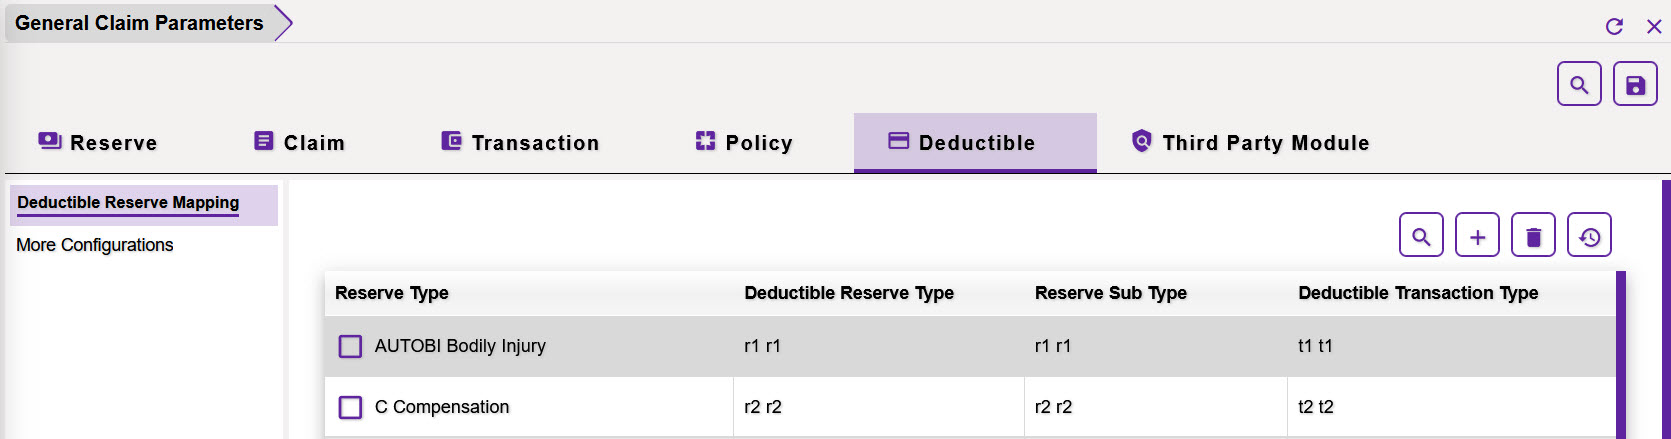
5.1 Deductible Reserve Mapping
The Deductible Reserve Mapping section offers an option to the users to map the Reserve Types with the Deductible Reserves. Reserve Sub Type is added as a new field on this tab to meet financial key setting requirements. However, all the Reserve Types are not required to be mapped with the Deductible Reserves to save the mapping.
Adding a New Deductible Reserve Mapping
To create a new mapping, select the Add ![]() button at the top left corner of the window. Next, select relevant data in the various fields and Save. The mapped Deductible Reserve Types will be displayed in the table below.
button at the top left corner of the window. Next, select relevant data in the various fields and Save. The mapped Deductible Reserve Types will be displayed in the table below.
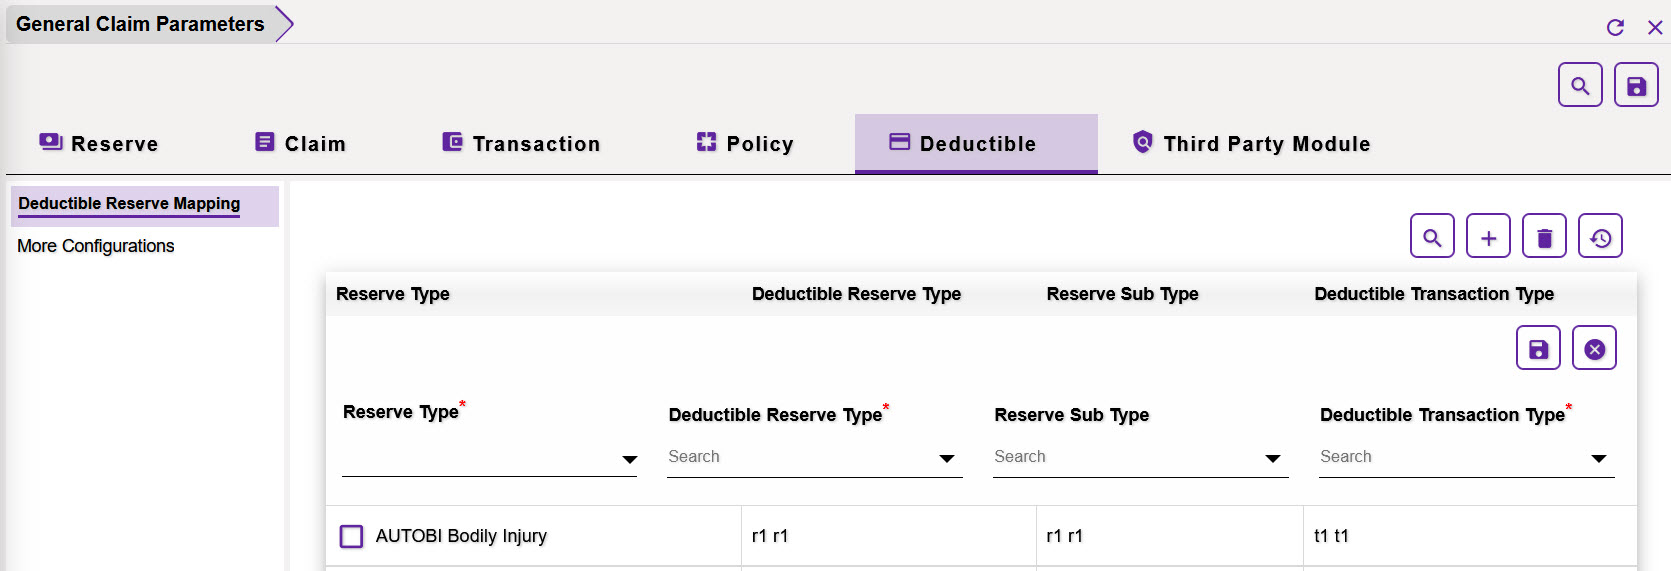
The various fields are discussed below:
Reserve Type: Select the Reserve Type that is to be mapped with a relevant Deductible Type from the dropdown list.
Deductible Reserve Type: Select the corresponding Deductible Reserve Type to be mapped to the Reserve Type selected in the previous field. This can be done by selecting the ![]() button which will open a lookup table.
button which will open a lookup table.
Reserve Sub Type: Select a relevant Reserve Sub Type for mapping by selecting the ![]() button.
button.
Deductible Transaction Type: Select the corresponding Deductible Transaction Type by selecting the ![]() button.
button.
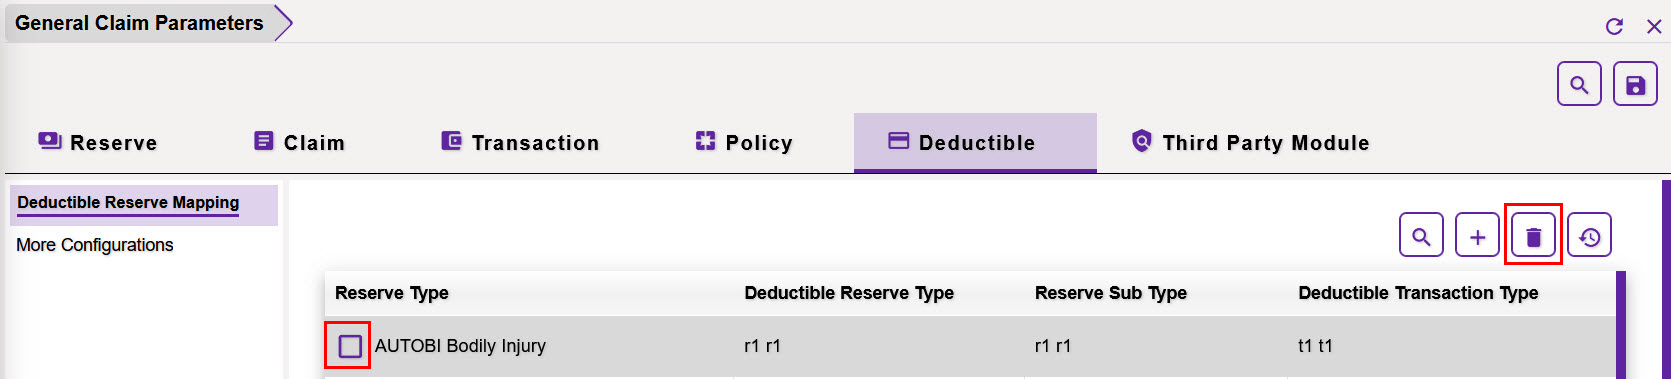
Removing a pre-existing Mapping
Additionally, the existing mapping of Reserve and Deductible types can be removed, as and when required. For this, select the adjacent checkbox followed by the Delete ![]() icon. Select the same to remove the item.
icon. Select the same to remove the item.
Including a Deductible Type
The value of the Deductible Type is initially marked as None, but users retain the ability to establish a Reserve or process Payments without applying the Deductible.
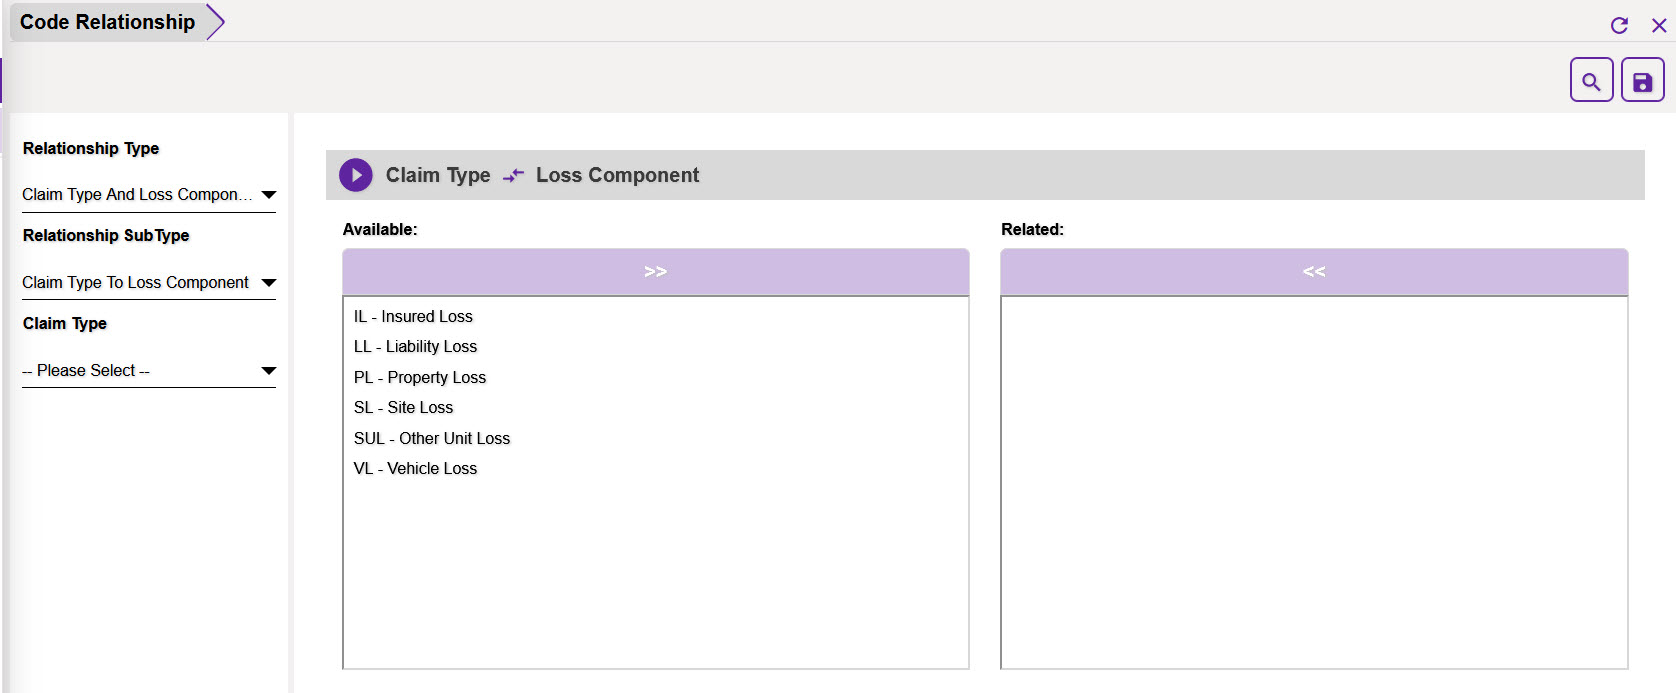
A new alternative has been introduced within the Deductible Type options on the Configuration Manager > Code Relationships menu, located within the Managers section. When the Deductible Type is designated as ‘Not Determined,’ the system prohibits users from generating Reserves or executing Payments. If a user attempts to initiate a reserve under this setting, an error message will prompt them to modify the deductible type.
This functionality is accessible via the Code Relationship interface within the Configuration Manager section.
Code Relationship screen in the Configuration Manager zone
5.2 More Configurations
The Deductible Settings improves the efficacy of the existing DXC Assure Claims Deductible module by bringing some essential layout changes.
To use the Deductible function in the Assure Claims application, make sure that these settings are enabled from this section of the Configuration Manager zone.
Note: “Enable Distribution of Deductible Amount To Subsequent Payment(s) When Payment Is Voided For Third Party” setting has been removed from this tab.
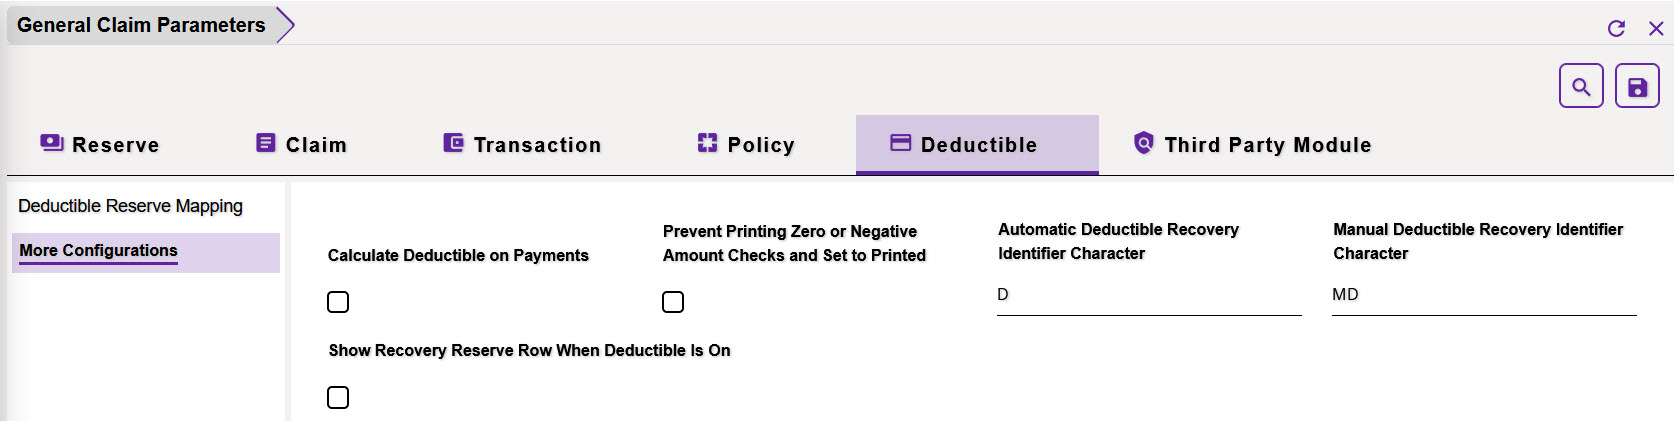
Enable the following setting to use the Deductible Function in the application.
- Calculate Deductible on Payments
- Prevent Printing Zero or Negative Amount Checks and Set to Printed
- Show Recovery Reserve Row When Deductible Is On
Automatic Deductible Recovery Identifier Character: Enter a character that is to be used to identify the Automatic Deductible Recovery.
Manual Deductible Recovery Identifier Character: Enter a character that is to be used to identify the Manual Deductible Recovery.
6. Third-party Module
6.1 Policy Management

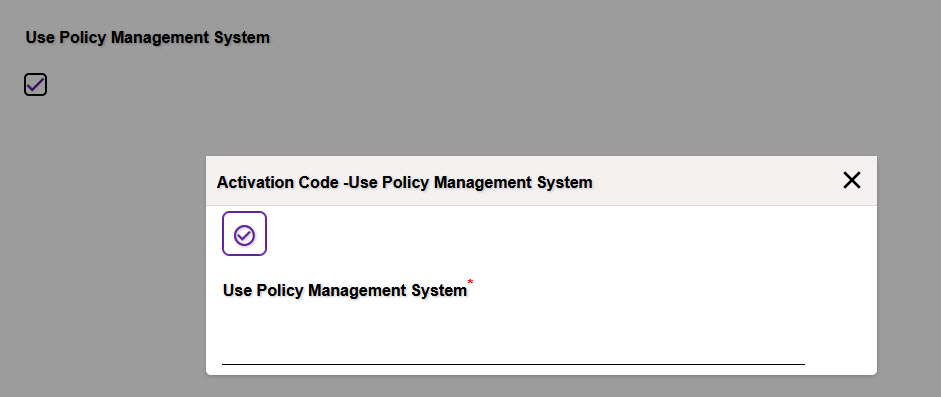
Use Policy Management System: Policy Management setting enables the modification of Policies for General Claims. This is a paid feature. As the checkbox is checked, an Activation Code window will popup. Please reach out to DXC Assure Claims Support or your DXC Assure Claims Sales Representative for more information.
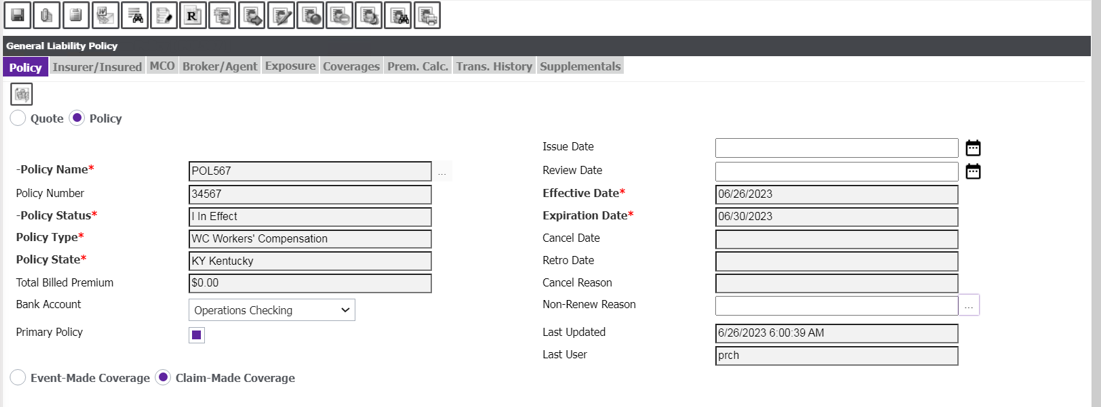
Policy Management System (Enhanced Policy) is used to provide premium quotes to customers and to convert quotes into policies. This functionality helps you monitor, amend, audit, cancel, and manually renew or non-renew Auto Liability, Property, General Liability and Workers Compensation policies.
6.2 Policy Tracking

Use Policy Limit Tracking: Once this setting is activated, the policy download will display the limits alongside the policy document.