How Can We Help?
Claimant
Overview
The Claimant option available in the right-hand pane of the Claim screen enables you to enter and track details of a Claimant.
How to Open or Add a Claimant’s Information?
To open a Claimant’s window, follow the steps mentioned below:
- Search for the Claim to which you want to add or open Claimant Information.
- From the right-hand navigation pane, select the
 button in the Claimant node.
 - A Lookup results window opens.
- From the Lookup results window, select the required Claimant from the existing list of Claimants.
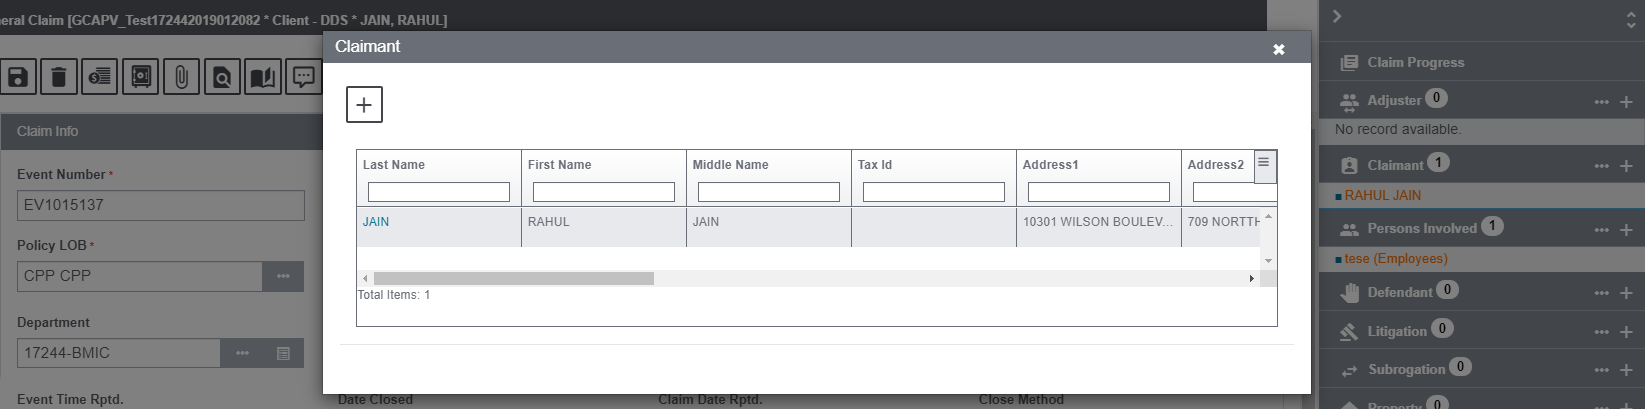
- To create a new Claimant, select the
 sign in the Adjuster node to get redirected to the Claimant Information screen. Provide the required information and select the Save button.
Field Definitions:
The various fields of Claim Adjuster Information are discussed below:
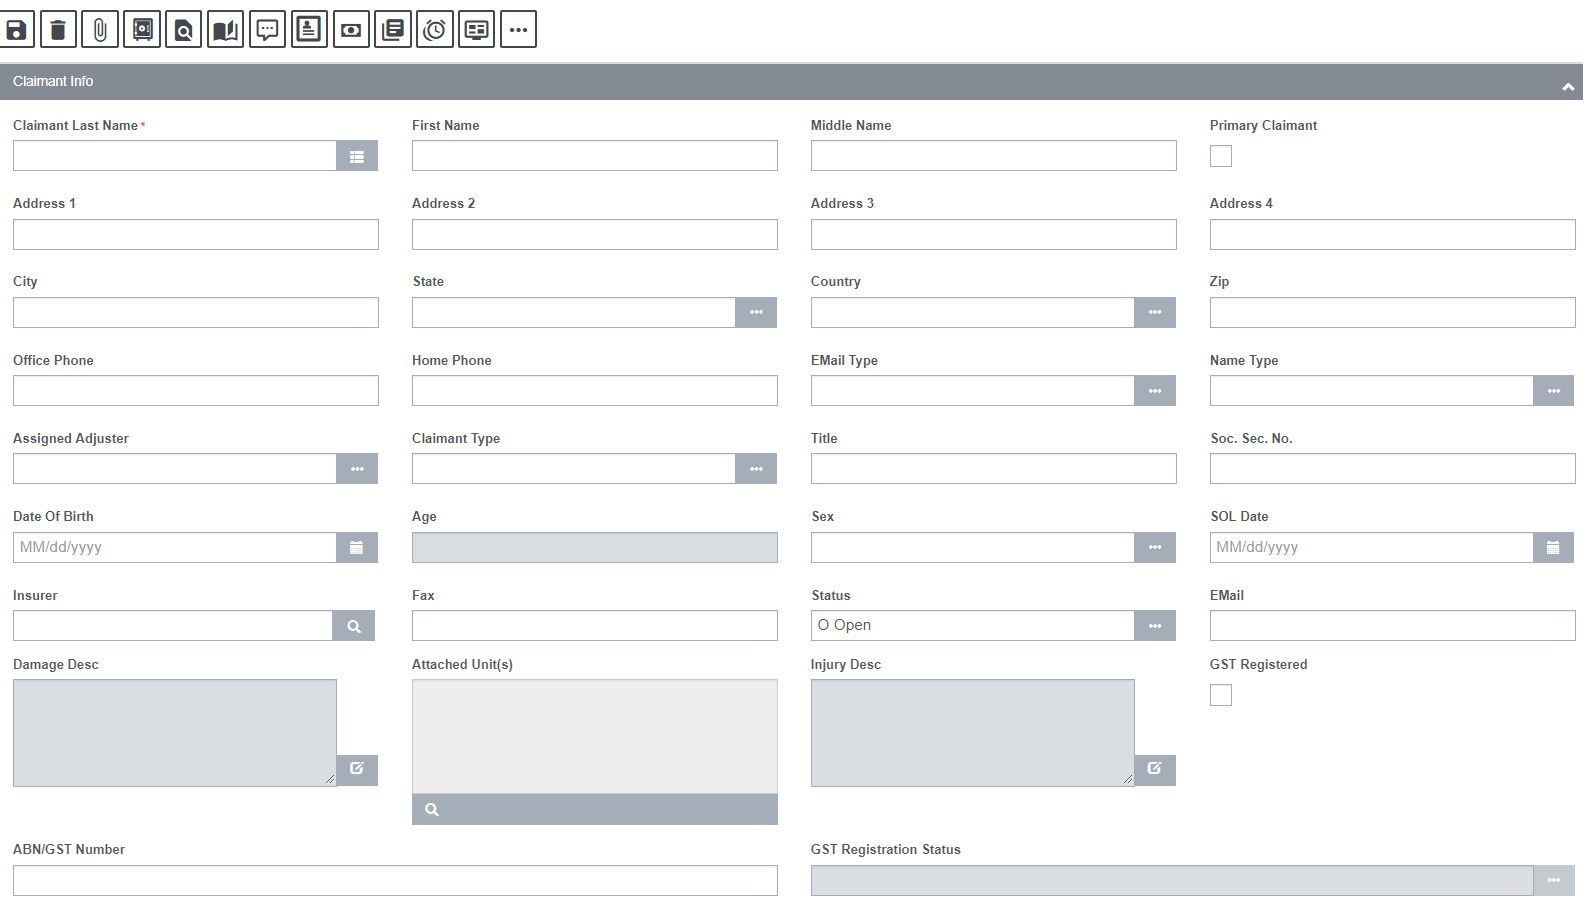
Claimant Last Name: Enter the Claimant’s last name or select the button to open the Standard Entity Search window and search for a Claimant.
When you search for an Claimant, Assure Claims automatically updates the other fields on the tab.
First Name: Enter Claimant’s first name.
Middle Name: Enter Claimant’s middle name.
Primary Claimant: Check the field if the Claimant is a Primary Claimant.
Address: Enter the Claimant’s address. Enter the City, State, Zip, and Country in the appropriate fields.
Office Phone: Enter the Claimant’s office phone number.
Home Phone: Enter the Claimant’s home phone number.
Email Type: Select the ![]() button to choose the email type.
button to choose the email type.
Name Type: Enter the name type of the Claimant.
Assigned Adjuster: Choose the assigned Adjuster for that particular Claim.
Claimant Type: Select the ![]() button to choose the Claimant Type.
button to choose the Claimant Type.
Title: Enter the Claimant’s title.
Soc. Sec. No.: Enter Claimant’s Social Security Number.
Date of Birth: Enter Claimant’s date of birth in MM/DD/YYYY format or select the same from the calendar ![]() .
.
Age: Based on the date of birth you entered, Assure Claims displays the Claimant’s age at the time of the Event .
Sex: Enter the code for the Claimant’s gender or select ![]() the button to select from the Code Selection window.
the button to select from the Code Selection window.
SOL: Date Enter the Statute of Limitations date. The Statute of Limitations states the time limit set by law during which a person must bring legal action on a case.
Insurer: Enter the Claimant’s insurance provider or select the ![]() button to open the Standard Entity Search window and search for the insurer.
button to open the Standard Entity Search window and search for the insurer.
Fax: Enter the Claimant’s fax number.
Status: Status of the claim will be displayed in this field.
Email: Enter the email address of the Claimant.
Injury Desc: Enter a description of the Claimant’s injuries or select the ![]() button to open the Assure Claims Editor. In the Assure Claims Editor, enter the description and then select OK.
button to open the Assure Claims Editor. In the Assure Claims Editor, enter the description and then select OK.
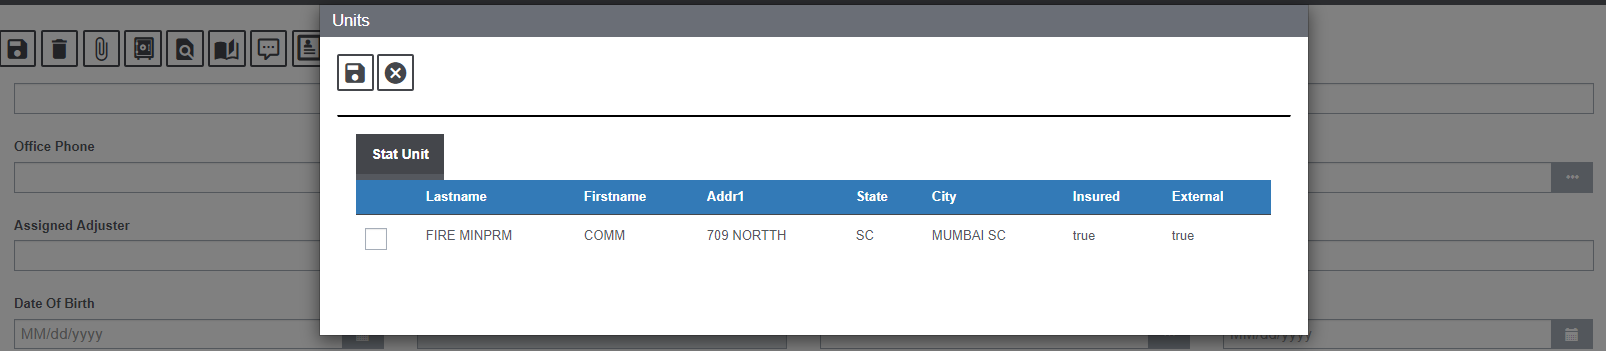
Attached Units: Select the ![]() button to pop open the Stat Unit lookup table and choose the relevant one.
button to pop open the Stat Unit lookup table and choose the relevant one.
Damage Desc: Enter a description of the damages the claimant suffered or select the ![]() button to open the Assure Claims Editor . In the Assure Claims Editor, enter the description and then select OK.
button to open the Assure Claims Editor . In the Assure Claims Editor, enter the description and then select OK.
GST Registration: Check the field if the GST registration is to be enabled.
ABN/GST Number: Enter the GST number if the GST registration is enabled.
GST Registration Status: Select the GST registration status.
There is a set of toolbar buttons available on the Claimant screen. Their functionality is discussed below:

Attach Documents: Select the Attach Documents button to open the Document Lists screen.
Financials/Reserves: Financials button can take you back to the Financials screen.
View Record Diaries: Click on the View Record Diaries to pop open Diaries screen.
Diaries: To add a new diary select the Diaries button that opens the Diaries screen.