How Can We Help?
Business Entity Security
Business Entity Security Setup
Business Entity Security enables you to create and maintain separate data views within a single DXC Assure Claims database, based on selections from the organizational hierarchy.
To activate Confidential Record functionality, select the Confidential Record checkbox. Confidential Record checkbox will be disabled once BES gets enabled. If Business Entity Security is enabled , it would need to be disabled and enabled again to activate or deactivate Confidential Record functionality.

Select the Enable BES ![]() button to enable/activate the Confidential Record functionality. Once it is enabled, the icon will change to Disable BES
button to enable/activate the Confidential Record functionality. Once it is enabled, the icon will change to Disable BES ![]() . Select the same to disable/deactivate the functionality.
. Select the same to disable/deactivate the functionality.
When the Business Entity Security module is opened for the first time, the setup wizard walks the user through the process of creating/updating the Security Group definitions.
BES Setup Process
To create new security group, select the button to pop open the New Security Group window.
New Security Group
The New Security Group has two tabs: Organizational Entities Selection and Group Users Selection.
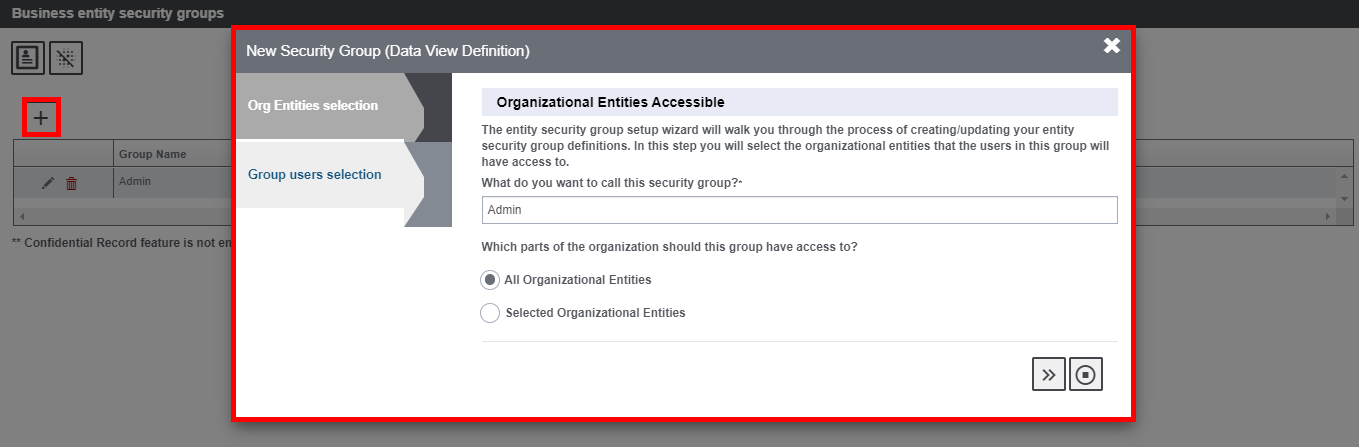
Define a name for this group (default Admin group) in the Organization Entities Accessible tab. The logged in user will be the default group member for this group. Select the part of organization that the group should have access to. When ‘All Organizational Entities’ option is selected, then the group thus created will be an ‘Admin’ group to which everything will be accessible.
In the next Group Users Selection tab, select the group users for the created BES group.
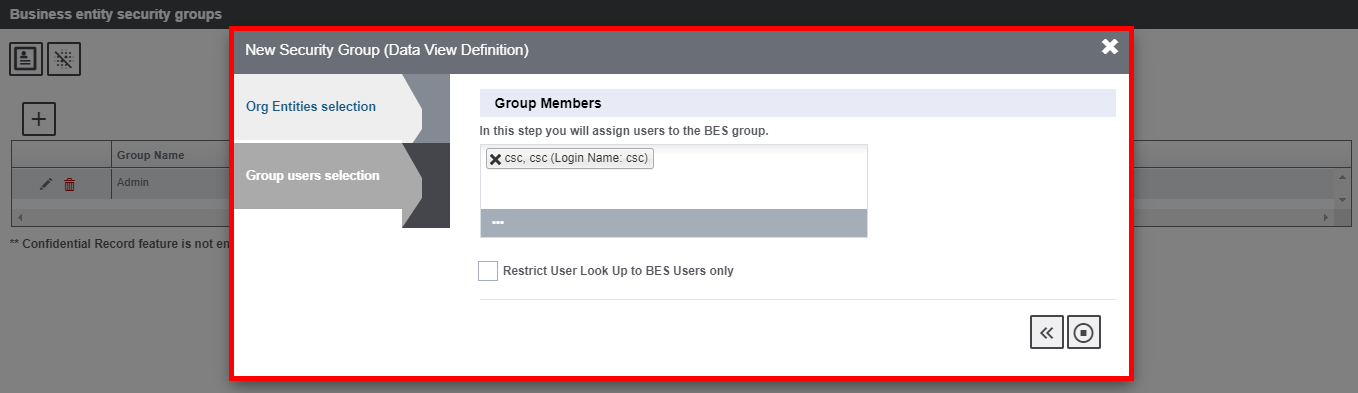
Select the Finish ![]() button to complete the process.
button to complete the process.
When Selected Organizational Entities option is opted for in the organization Entities Accessible tab, then, The following options will appear only to non-admin BES groups:
- Adjuster Type Text Selection
- Enhanced Notes types Selection
- Group Users Selection
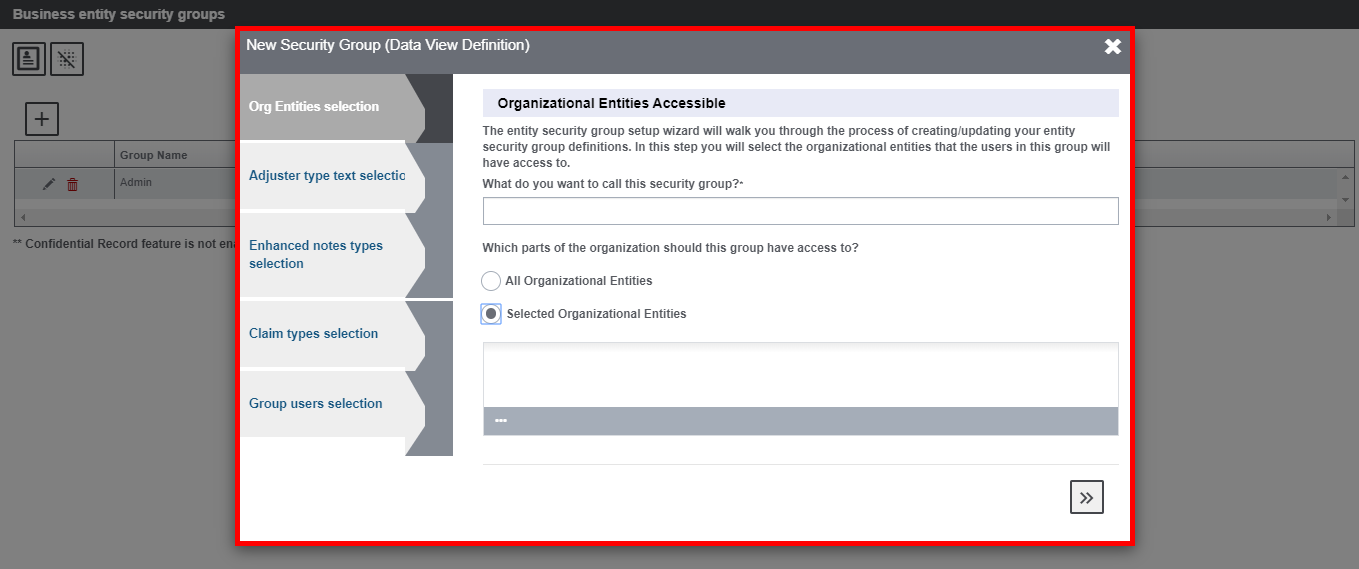
Once the Selected Organizational Entities radio button is selected, the field to select the organizational entities will be enabled. Select the ![]() button to open the lookup table, choose the relevant entity and select
button to open the lookup table, choose the relevant entity and select ![]() .
.
In the next Adjuster Type Text Selection, select the part of the organization that is to be accessed by this group, then, select ![]() .
.
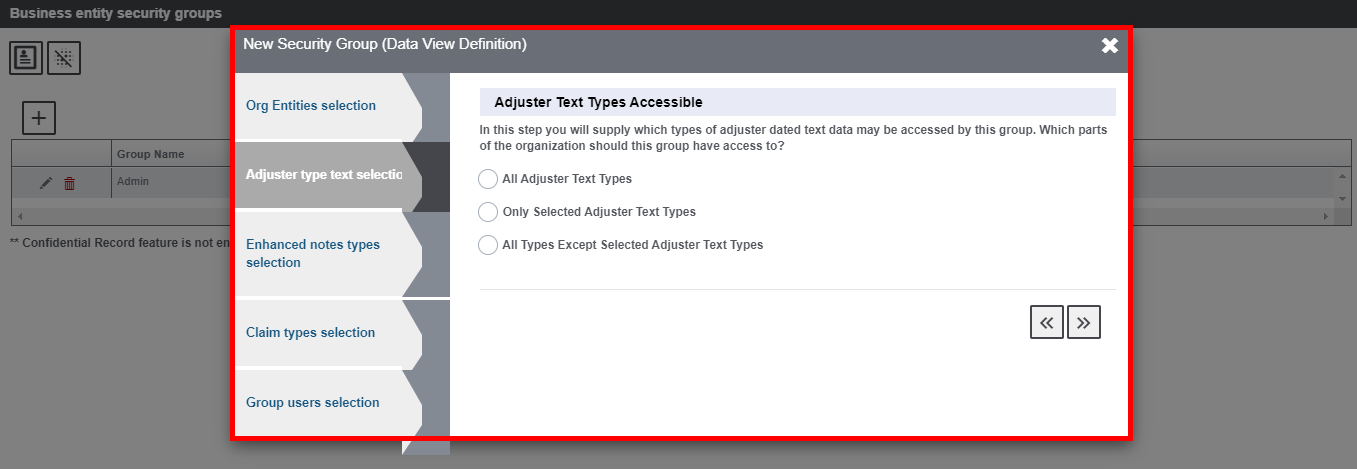
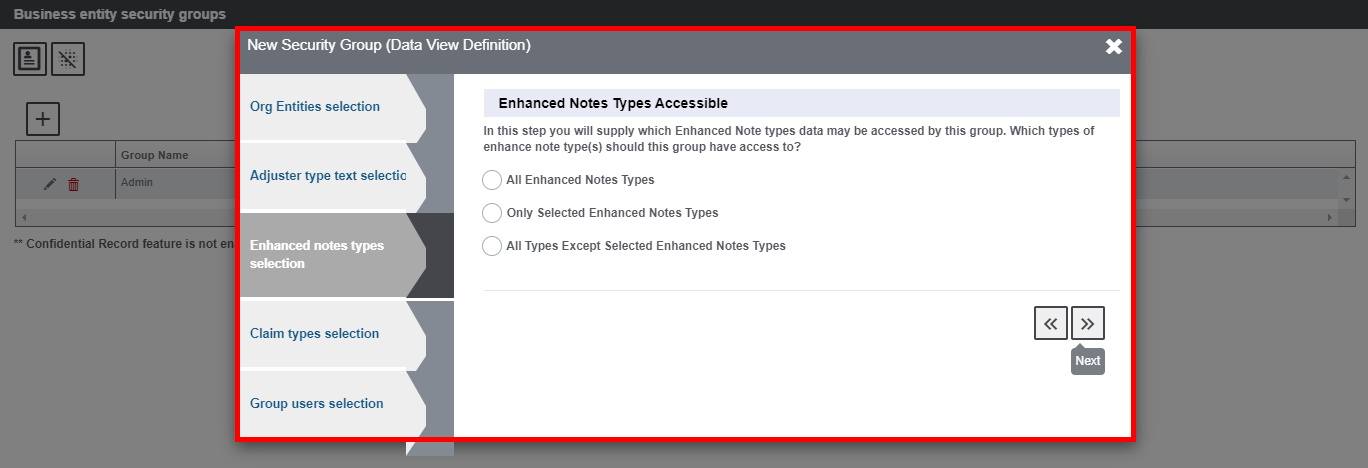
This will get you redirected to the Enhanced Notes Type Selection tab. Select the type of Enhanced Notes that the group is allowed to access and then click on the Next ![]() button.
button.
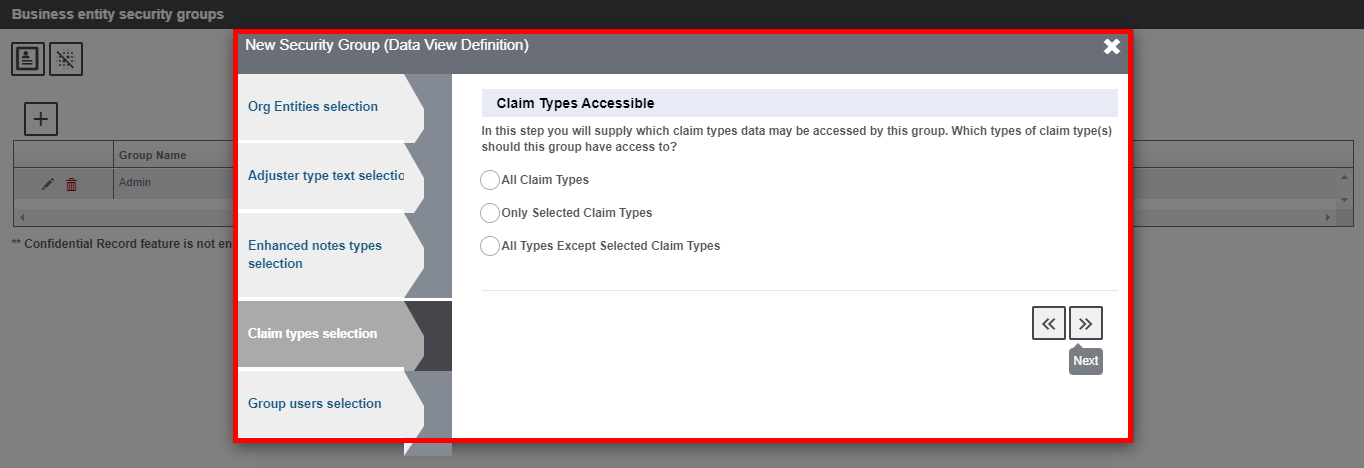
In the Claim Type Selection tab, select the claim types that the group can access.
In the Group Users Selection tab, select the users that are assigned to the BES group.
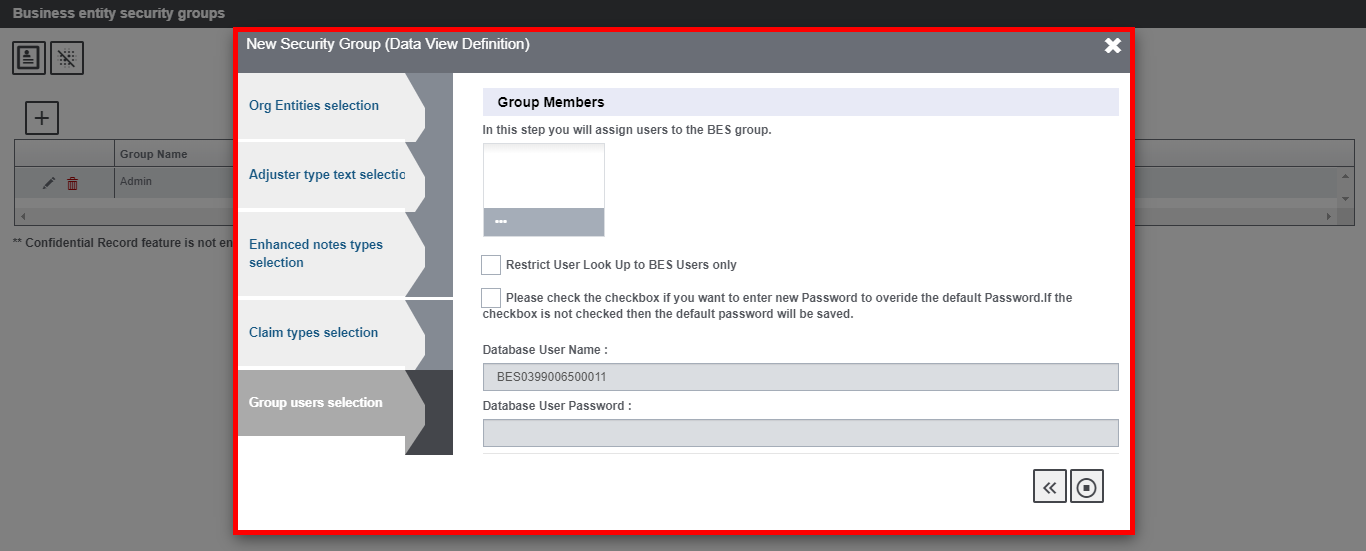
Once required information in all the tabs are filled, select the Finish ![]() button.
button.
The created BES groups along with their status will be displayed as shown below:
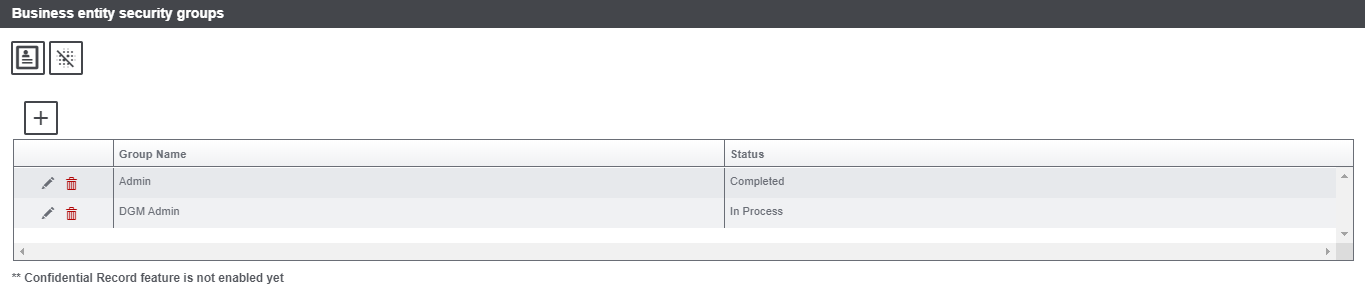
Note:
- Only Configuration information is captured here. The group will be in “In Process” status until BES scheduler is run from the task manager.
- Once User roles, data views, mappings are created in the database only then will each group have “completed” status against it.
- The default Admin group will be in completed status straightaway.
Record Summary
The Record Summary ![]() button provides a summarized view of groups, entities accessible, users added to the groups. Select the button and the record summary will be displayed in PDF format.
button provides a summarized view of groups, entities accessible, users added to the groups. Select the button and the record summary will be displayed in PDF format.